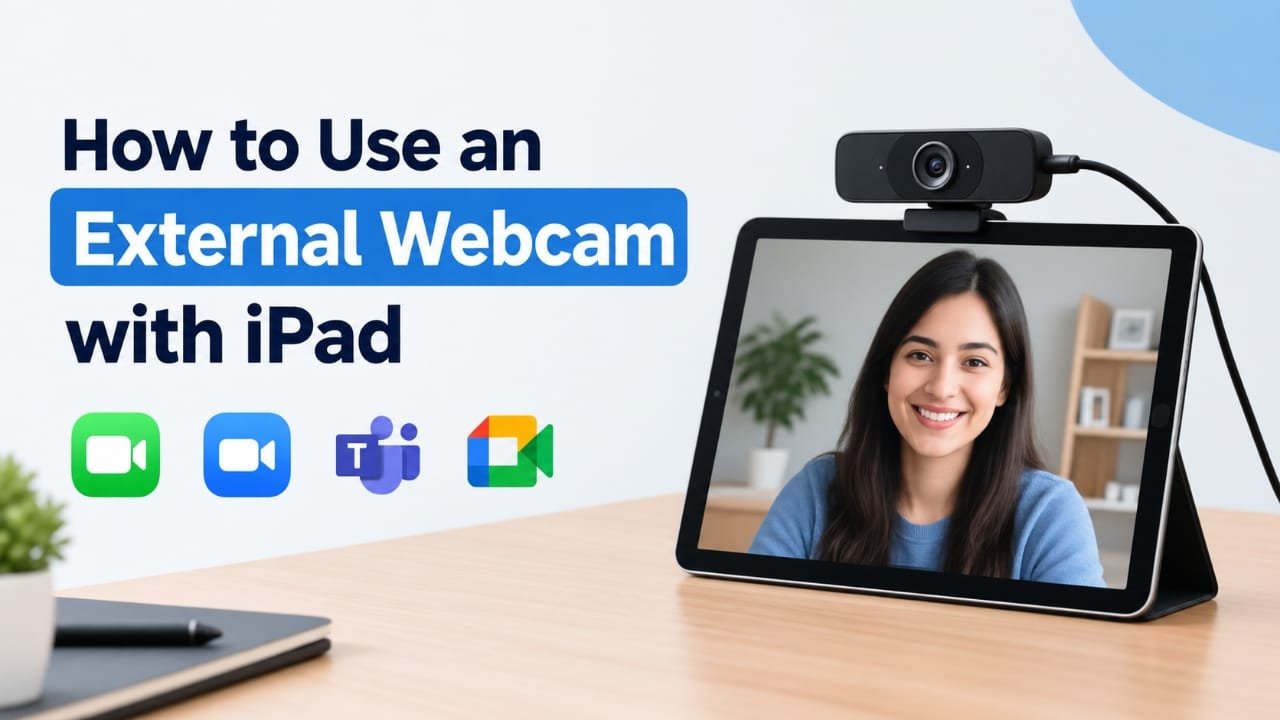
If your iPad’s built-in camera isn’t giving you the framing or flexibility you need for video calls, an external webcam can be a useful alternative. On supported iPad models, you can connect a USB webcam and use it with compatible video apps such as FaceTime, Zoom, Microsoft Teams, and Google Meet.
The setup mainly depends on three things: your iPad model, the iPadOS version, and the adapter or hub you use.
This guide explains how to connect an external webcam, select it in a video app, deal with power requirements, and troubleshoot common problems.
Also read: How to Insert a Reusable Quick Part in Word: Step-by-Step Guide
What You Need to Use a Webcam with an iPad
Before connecting anything, check that you have the right equipment.
You will generally need:
- A supported iPad
- A compatible USB webcam
- A USB-C or Lightning adapter, depending on your iPad
- A suitable USB cable or hub
- A powered USB hub if the webcam requires more power than the iPad can provide
- A video-calling or recording app that supports external cameras
Newer USB-C iPads are generally easier to set up because you can connect USB accessories directly through a compatible USB-C adapter or hub.
If your iPad uses Lightning, you may need a Lightning-to-USB adapter designed to work with USB accessories.
Step 1: Check Your iPad and iPadOS Version
Start by checking which version of iPadOS your iPad is running.
Go to:
Settings → General → About
Look for the iPadOS version and note whether your iPad has a USB-C or Lightning port.
For the setup described in this guide, iPadOS 17 or later is the recommended starting point, but actual external-camera compatibility can vary by iPad model, app, and accessory.
The port matters because it determines which connection method you can use.
Step 2: Choose the Right Connection
The connection you need depends on your iPad.
USB-C iPad
A USB-C iPad can usually connect to a USB webcam through:
- A USB-C-to-USB adapter
- A USB-C hub with a USB port
- A webcam with a compatible USB-C connection
A hub can be particularly useful if you also want to connect other accessories or keep the iPad charged.
Lightning iPad
Lightning-equipped iPads generally require a Lightning-to-USB adapter to connect a USB webcam.
For accessories that require more power, an adapter designed to provide power to USB devices can be more practical than a basic adapter.
Step 3: Connect the External Webcam
Once you have the correct hardware, connect the webcam.
- Plug the webcam into the USB adapter or hub.
- Connect the adapter or hub to the iPad.
- Give the iPad a moment to recognize the accessory.
- Open your video or camera application.
The webcam may have an indicator light that turns on when it receives power. However, the absence of a light does not necessarily mean the camera is defective, since different webcams behave differently.
If the camera does not appear to work, continue with the troubleshooting steps below rather than immediately replacing it.
Step 4: Open a Compatible Video App
Next, open the app where you want to use the webcam.
Depending on the app and iPad, external-camera support may be available in services such as:
- FaceTime
- Zoom
- Microsoft Teams
- Google Meet
- Other compatible video or recording applications
The exact camera controls can differ between apps.
In some cases, the external webcam may be selected automatically. In others, you may need to choose it manually.
Step 5: Select the External Webcam
If the app continues using the iPad’s built-in camera, look for a camera selector or video settings menu.
The control might appear as:
- A camera-switching button
- A gear icon
- A camera dropdown
- A video settings option
Select the connected webcam if it appears in the list.
For example, in a video-conferencing application, open the video settings and look for the available camera devices. After selecting the external webcam, the preview should change to its video feed.
If the webcam isn’t listed at all, the problem may be related to compatibility, power, permissions, or the app itself.
Step 6: Position and Test the Webcam
Once the camera is working, spend a minute setting up its position.
For video calls, placing the webcam around eye level generally produces a more natural perspective.
Also check:
- Camera angle
- Framing
- Lighting
- Background
- Focus
- Microphone input
Make a short test recording or join a test call before an important meeting.
If your webcam has a built-in microphone, the app may be able to use it as an audio source. Otherwise, you may be able to use the iPad’s microphone or a connected headset, depending on the app and setup.
When You Should Use a Powered USB Hub
One of the most common problems with USB webcams is power.
A webcam connected directly through an adapter may not always receive enough power to operate reliably. This can result in:
- The camera not turning on
- Random disconnections
- A black video preview
- The webcam appearing and disappearing
- An unstable connection
If this happens, try a powered USB hub. It can provide additional power to connected USB accessories while the iPad handles the data connection.
A USB-C hub with power delivery can also be useful if you want to connect the webcam while charging the iPad.
What If the Webcam Works in One App but Not Another?
This is an important distinction.
If the webcam works correctly in one supported application but not another, the webcam and iPad connection may be fine. The problem could instead be related to the second app’s external-camera support or its permissions.
Try the following:
- Check the app’s camera settings.
- Make sure camera permission is enabled.
- Close and reopen the app.
- Test the webcam in another compatible video app.
- Update the app if an update is available.
Don’t assume that every iPad app will offer identical camera controls.
How to Fix an External Webcam That Isn’t Detected
If your iPad doesn’t recognize the webcam, work through these checks in order.
1. Disconnect and reconnect everything
Unplug the webcam and adapter, then reconnect them carefully.
If you’re using a hub, reconnect the hub to the iPad and make sure the webcam is firmly attached.
2. Restart the iPad
A restart can resolve temporary accessory-detection problems.
After restarting, connect the webcam again and test it in a compatible application.
3. Check the adapter or hub
A faulty or incompatible adapter can prevent the webcam from appearing.
If possible, test another compatible adapter or hub.
4. Check the power supply
If the webcam doesn’t power up or keeps disconnecting, insufficient power is a strong possibility.
Try connecting it through a powered hub.
5. Check camera permissions
Go to:
Settings → Privacy & Security → Camera
Make sure the application you’re using has permission to access the camera.
6. Update iPadOS
If your iPad is running an older version of iPadOS, update it when an appropriate update is available. Accessory and app compatibility can depend on the software version.
Why Does the Webcam Show a Black Screen?
A black preview doesn’t necessarily mean the webcam is broken.
Possible causes include:
- The app is still using the iPad’s built-in camera
- The webcam isn’t receiving enough power
- The app hasn’t properly initialized the external camera
- Camera permission is disabled
- The adapter or hub isn’t working correctly
First, check the app’s camera selector. If the external webcam is selected but the preview remains black, try reconnecting it and, if necessary, using a powered hub.
Why Does the Webcam Keep Disconnecting?
Frequent disconnections are often related to the connection or power supply.
Try:
- Using a different USB cable
- Connecting through a powered USB hub
- Trying another compatible adapter
- Disconnecting unnecessary USB accessories
- Restarting the iPad
If the webcam works reliably on another compatible device but repeatedly disconnects from the iPad, the iPad-side connection or power requirements deserve particular attention.
Can You Charge the iPad While Using a Webcam?
In some setups, yes.
A compatible USB-C hub with power delivery can allow the iPad to receive power while another USB accessory, such as a webcam, is connected.
The exact behavior depends on the iPad, hub, power source, and connected accessories, so charging should not be assumed for every adapter or hub.
Tips for Better Webcam Video on iPad
A few simple adjustments can make a noticeable difference.
- Use good lighting: A webcam can produce poor-looking video in a dark room even when the camera itself is capable.
- Keep the lens clean: Smudges can make the image look soft or hazy.
- Position the camera carefully: Eye-level placement usually works well for calls.
- Check the field of view: A wider-angle webcam can be useful if you need to include more of your surroundings.
- Test before important calls: Don’t wait until a meeting starts to discover that the app is using the wrong camera.
- Check each app separately: Different apps may remember different camera selections.
- Use a powered hub when necessary: This can solve many connection and stability problems.
Common Mistakes to Avoid
A few setup mistakes can make a working webcam appear incompatible.
Using the wrong adapter
Having the correct physical connector doesn’t automatically guarantee that an adapter will work properly with a webcam.
Ignoring power requirements
Some webcams need more power than the iPad connection can comfortably provide. If the camera repeatedly disconnects, consider a powered hub.
Assuming every app supports external cameras
External-camera support isn’t necessarily identical across every application. Always check the particular app you’re using.
Troubleshooting only the webcam
The webcam is just one part of the setup. The iPad, operating system, adapter, hub, cable, app, and permissions can all affect whether the camera works.
Frequently Asked Questions
Can I use any webcam with an iPad?
Not necessarily. A standard USB webcam may work on a supported iPad, but compatibility depends on the iPad model, iPadOS version, connection hardware, power requirements, and application.
Do I need a special iPad webcam?
Usually, you don’t need a webcam marketed specifically for iPad. A compatible USB webcam can work when the iPad and connection setup support external cameras.
Can I use an external webcam with FaceTime?
On supported iPads and software versions, FaceTime can use an external camera. If the external webcam isn’t selected automatically, check the available camera controls in the call.
Can I use an external webcam with Zoom?
A compatible external webcam can be used with Zoom on supported iPad setups. If it isn’t selected automatically, check Zoom’s video or camera settings.
Why isn’t my webcam turning on?
Check the adapter, cable, power requirements, iPadOS version, and app compatibility. If the webcam appears to be underpowered, a powered USB hub may help.
Can the webcam microphone work with the iPad?
If the webcam includes a microphone and the setup supports it, the webcam may be available as an audio input. You can also use another supported microphone or headset, depending on your application and configuration.
Can I charge my iPad while the webcam is connected?
It depends on the connection hardware. A suitable powered USB-C hub may allow simultaneous charging and webcam use, while a basic adapter may not provide that option.
Also read: How to Create a Drop-Down List in Microsoft Word
Final Thoughts
Using an external webcam with an iPad can be straightforward once the three main compatibility points are right: the iPad, the connection hardware, and the app.
For a USB-C iPad, a suitable USB-C adapter or hub is often the simplest route. If the webcam fails to power up or keeps disconnecting, look at power requirements and consider a powered hub. If it works in one app but not another, check the second app’s camera support and permissions.
Before an important video call, test the complete setup in advance. That gives you time to fix connection, camera-selection, audio, or lighting issues without having to troubleshoot them during the call.

Abhi Rajput, founder of Earnabhi.com, is a tech lover with 6+ years of experience in SEO, digital tools, and smartphone troubleshooting. He writes simple, clear, and useful guides to help people solve real tech problems.