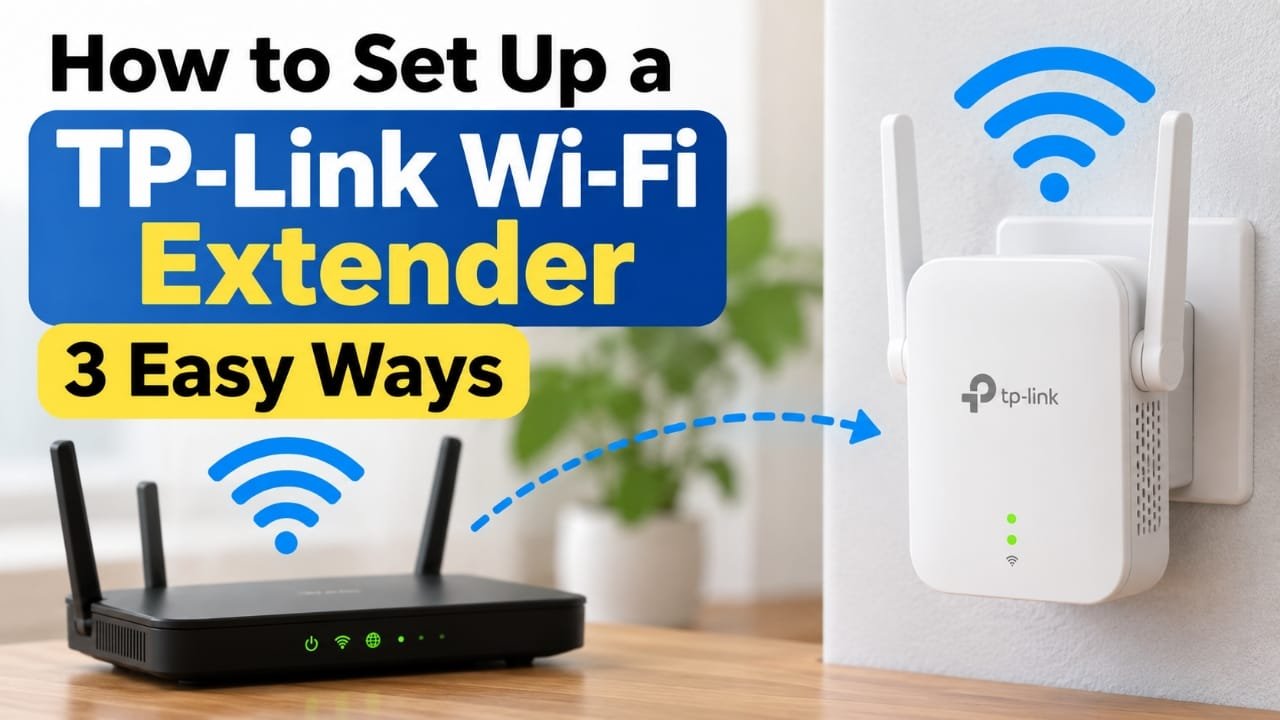
A TP-Link Wi-Fi extender can help improve wireless coverage in areas where your router’s signal is weak. Setting one up is usually straightforward, and you can do it through a web browser, the TP-Link Tether app, or WPS.
The exact screens and options can vary depending on your TP-Link extender model. The basic process, however, is similar across many models.
Also read: How to Add a Text Box in Google Docs
Before You Start
Keep your TP-Link extender close to the router during the initial setup. This makes it easier for the extender to establish a connection with the router.
You will generally need:
- Your existing Wi-Fi router
- The router’s Wi-Fi password
- A phone, tablet, or computer
- The TP-Link extender
- A power outlet near the router
After setup, you can move the extender to a more suitable location.
Method 1: Set Up the TP-Link Extender Using a Web Browser
The web setup method is useful if you don’t want to install an app.
1. Plug in the extender
Connect the extender to a power outlet close to your router. Wait until its power indicator shows that the device is ready.
For the initial setup, avoid placing the extender in the area where the Wi-Fi signal is already very weak.
2. Connect to the extender’s Wi-Fi
On your phone or computer, open the available Wi-Fi networks and look for a network with a name such as TP-Link_Extender.
Connect to that network.
3. Open the TP-Link setup page
Open a web browser and enter:
tplinkrepeater.net
Some models may also use 192.168.0.254 for local setup.
You should then see the extender’s setup interface.
4. Create the extender’s login password
If the extender asks you to create an administrator password, choose one that you can remember.
This password is for accessing the extender’s settings. It is not necessarily the same as your existing Wi-Fi password.
5. Select your router’s Wi-Fi network
The setup screen should scan for nearby wireless networks.
Select the Wi-Fi network that belongs to your router. Depending on the extender and router, you may see separate 2.4GHz and 5GHz networks.
Enter your router’s Wi-Fi password when requested.
6. Choose the extended Wi-Fi name
The extender will give you options for naming the extended network.
You can use the suggested name or choose another name if your model allows it.
Once the configuration is complete, the extender may restart.
Method 2: Set Up the Extender With the TP-Link Tether App
If you prefer using your phone, the TP-Link Tether app can guide you through the setup process on supported devices.
The basic process is:
- Plug the extender into an outlet near your router.
- Connect your phone to the extender’s setup Wi-Fi.
- Open the TP-Link Tether app.
- Select the extender when it appears.
- Follow the instructions shown in the app.
- Select your router’s Wi-Fi network.
- Enter the router’s Wi-Fi password.
- Complete the setup and allow the extender to restart.
If the app doesn’t detect the extender, check that your phone is connected to the extender’s Wi-Fi. Temporarily turning off mobile/cellular data can also help the app communicate with the local device.
The exact options available in Tether depend on the extender model.
Method 3: Set Up a TP-Link Extender Using WPS
WPS can be the quickest option if your router and extender both support it.
Follow these steps:
- Plug the extender into an outlet close to the router.
- Press the WPS button on your router.
- Within the required time, press the WPS button on the TP-Link extender.
- Wait while the devices establish a connection.
- Check the extender’s indicator lights to confirm the connection.
The exact timing and button behavior can differ between models, so check the quick installation guide supplied with your extender.
With WPS, the extender may use a network name based on your router’s Wi-Fi name, sometimes with an EXT suffix.
Where Should You Place the TP-Link Extender?
The extender’s location can make a big difference.
A common mistake is putting the extender directly inside the Wi-Fi dead zone. If the extender receives a very weak signal from the router, it has little useful signal to repeat.
Instead, place it between the router and the area where you need better coverage, while keeping it within a reliable range of the router.
A good starting point is roughly halfway between the router and the weak-signal area.
Keep the extender in an open location
Avoid placing it:
- Inside a cabinet
- Behind a television
- In a closed shelf
- Immediately beside large objects that may obstruct the signal
After moving the extender, check its signal indicator if your model has one. Some TP-Link extenders use different indicator colors to show the quality of the connection to the router.
You can also test the connection by going to the area where Wi-Fi was previously weak and browsing the internet, playing a video, or running a speed test.
What to Do If the TP-Link Extender Has No Internet
If the extender connects to your devices but you cannot access the internet, try these checks.
Check the router first
Connect your phone directly to the router’s Wi-Fi.
If the router itself has no internet connection, the extender will not be able to provide internet access either.
Move the extender closer
If the extender is too far from the router, move it closer and check the connection again.
Check your Wi-Fi password
If you recently changed the router’s Wi-Fi name or password, the extender may still be using the old settings.
Log in to the extender and configure the connection again using the current router details.
Check 5GHz connectivity
If the extender repeatedly loses its 5GHz connection, wireless-channel settings on the router may be worth checking. TP-Link provides channel-related troubleshooting recommendations for some situations, but the available channels depend on the router, region, and wireless configuration.
Avoid changing advanced wireless settings unless you understand what they do or have checked your router’s documentation.
Should You Use an Extender or a Mesh Wi-Fi System?
A Wi-Fi extender can be a practical solution when you have a specific area with poor coverage.
However, if you need reliable coverage across a large house or multiple floors, a mesh Wi-Fi system may be a better fit. Mesh systems are designed to use multiple nodes to provide coverage across a larger area.
The right choice depends on your home’s size, layout, router, internet connection, and where the weak-signal areas are located.
Common TP-Link Extender Questions
Will a TP-Link Wi-Fi extender work with my router?
TP-Link states that its range extenders are designed to work with many Wi-Fi routers. However, compatibility and available features can vary by model, router configuration, and firmware.
If you’re having trouble, check the specific extender’s documentation and make sure the router is working normally.
What if I forgot my TP-Link extender login password?
If you cannot access the extender because you forgot its administrator password, a factory reset may be necessary.
Keep in mind that resetting the extender removes its existing configuration, so you will need to set it up again.
Can I use two TP-Link Wi-Fi extenders?
Multiple extenders can be used, but connecting extenders in a long chain can reduce performance.
Where possible, TP-Link recommends connecting extenders directly to the main router rather than repeatedly extending one extender’s signal through another.
The number of extenders and the recommended arrangement depend on the specific products and network setup.
Why is my extender slower than my router?
An extender communicates wirelessly with the router and then with your connected devices. Its performance can therefore depend heavily on its distance from the router, signal quality, wireless band, interference, and the extender’s capabilities.
Moving the extender to a location where it receives a stronger signal can help.
Tips for Better TP-Link Extender Performance
Before assuming that your extender is faulty, check these basics:
- Place it where the router’s signal is still reasonably strong.
- Keep it in an open location.
- Avoid placing it behind large electronic equipment.
- Make sure the router itself has a stable internet connection.
- Recheck the Wi-Fi password after changing router settings.
- Keep the router and extender firmware updated when appropriate.
- Test the connection from the area where you actually need better coverage.
- Consider mesh Wi-Fi if one extender cannot adequately cover your home.
Also read: How to Enable Developer Options on Android: Step-by-Step Guide
Conclusion
Setting up a TP-Link Wi-Fi extender can usually be done in three ways: through a web browser, the TP-Link Tether app, or WPS. For most users, the most important part comes after setup—finding the right location for the extender.
Start with the extender near the router, complete the configuration, and then move it toward the area with weak Wi-Fi while keeping a reliable connection to the router. If a single extender cannot provide the coverage or performance you need, a mesh Wi-Fi system may be worth considering.
FAQs
What website do I use to set up a TP-Link extender?
Many TP-Link extenders use tplinkrepeater.net for web-based setup. Some models may also use 192.168.0.254.
Should the extender be placed in the Wi-Fi dead zone?
No. It should normally be placed where it can still receive a good signal from the main router and then extend that coverage toward the weak-signal area.
Can I set up a TP-Link extender from my phone?
Yes. Supported models can be configured using the TP-Link Tether app or through a mobile web browser.
Does a TP-Link extender create a separate Wi-Fi network?
It can use a different network name, depending on the model and configuration. Some setups use a name based on the router’s network, sometimes with an EXT suffix.

Abhi Rajput, founder of Earnabhi.com, is a tech lover with 6+ years of experience in SEO, digital tools, and smartphone troubleshooting. He writes simple, clear, and useful guides to help people solve real tech problems.